We have been exposed to the history record function of Photoshop for a long time, and we also know that the history record is linear. Changing the previous history will delete the subsequent records. In other words, we cannot modify the operations done in the previous history while retaining the existing effects. But there is a tool that can directly erase the effect of a certain step in the history based on the existing effect without returning the history. This is the History Brush Tool![]()
![]() 〖Y/SHIFT Y〗.
〖Y/SHIFT Y〗.
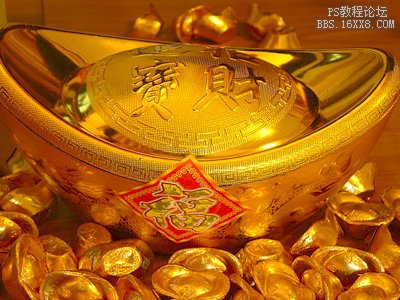
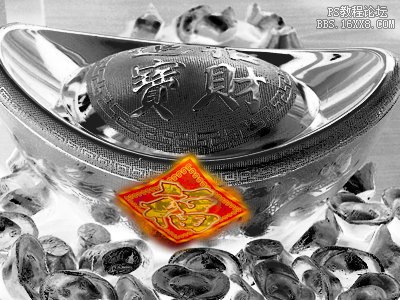
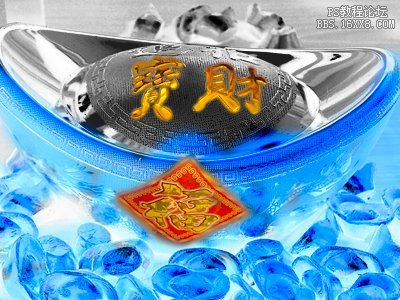
This tool is conceptually different from other tools, but it’s not difficult to master once you understand the process. First we open an image, which is a picture of Yuanbao chocolate. As shown below on the left. Download the sample file sample0703.jpg
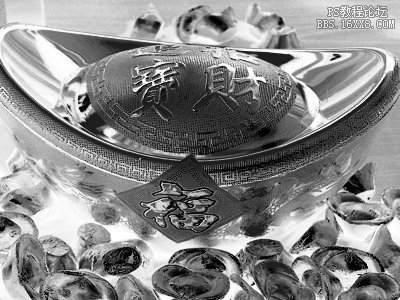
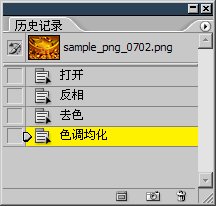
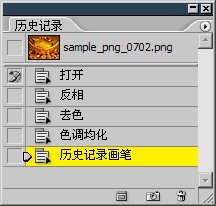
Then bring up the History palette. Perform the three operations of inverting, decolorizing, and tonal equalizing on the image in sequence, resulting in the effect shown in the middle picture below. At the same time, the history of these three steps is also listed in the history palette. As shown below on the right.



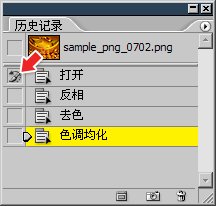
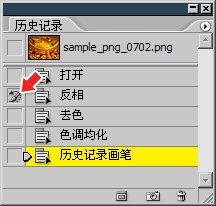
The next operation can be called the erasure of historical records. Since historical records have many steps, one step must be designated as the historical object of “erasure to this step” before erasure. We want to restore the rhombus-shaped Fu character to the state it was in when it was opened, that is, the state that has not undergone the three steps of inversion, color removal, and tone equalization. Then select the history brush [Y/SHIFT Y] on the toolbar, and then click “Open” in the history palette to delete the indicator box on the left, as shown by the red arrow in the left picture below. This specifies the historical object that has been “erased up to this point”. Then use the history brush to paint the area in the image that needs to be restored, and you can see that the area is restored to the state when it was opened, as shown in the middle picture below. At the same time, the erasure operation is also added to the history record, as shown on the right below. If the smearing effect is not completed in one step, then multiple steps of operations will be recorded in the history record.



According to this idea, place the erasure indicator box in the “Invert” step, then apply it, and the smeared area will return to the state after inversion. As shown in the left and middle pictures below. Of course, after completion, there will be one or more steps using the historical brush in the historical record. Pay attention to the application operationPrevious erasure effects will be overwritten, so avoid those areas. You can then put the erasure indicator to “Open” (red arrow in the left picture below), and then smear out the area with two texts. As shown in the right picture below, because it is more detailed, you can enlarge the image [space CTRL click] and then use a smaller brush to apply.

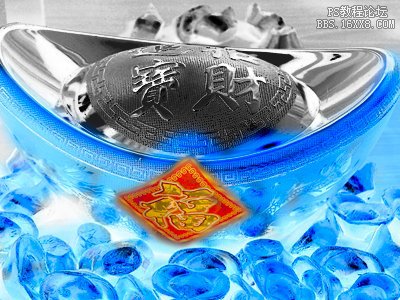


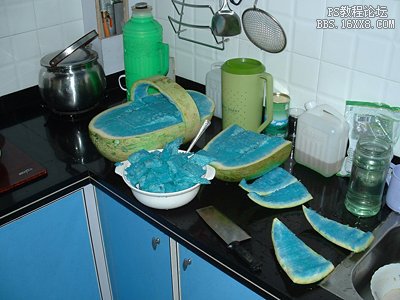
Recall the blue watermelon we made in the previous part of this lesson. After completion, we found that the bottom of the white square jar containing honey had a blue effect, as shown below. It would be too troublesome to completely undo the operation and then redo it. At this point, you can use the history brush, set the erasure indicator in the history palette (should be the step before changing the color), and then paint on the bottom of the white square can. There will be no further demonstration here.

It should be noted that the brush settings of the history brush are exactly the same as what we learned in course #04. In addition to the default round brush, you can also use brushes with various shapes and special effects. At the same time, various parameters of the brush can be set in the top public bar. The shortcut keys for changing the brush size [or] and softness and hardness [SHIFT [or SHIFT ]] are also the same. Therefore, as we said before, brushes are not just for a certain tool, but a global setting. There will be many tools that will use brushes in the future.
History Art Brush Tool![]()
![]() It is also an erasure operation for history, but it also adds many special effects while erasing. Styles and other parameters can be set in the common bar at the top.
It is also an erasure operation for history, but it also adds many special effects while erasing. Styles and other parameters can be set in the common bar at the top.
Generally speaking, there are not many opportunities to use the history brush in actual use. Because it is a tool for arbitrarily smearing, it is difficult to achieve a regular painting effect (if you want a regular smearing effect, it is best to create a selection in advance). However, it provides a new way of creative thinking that can create some unique effects. In terms of tool nature, it is more of a modification tool than a creation tool.
<!–Collectio

 微信扫一扫打赏
 支付宝扫一扫打赏

