
This tutorial uses PS to design a beautiful creative poster that combines graphics and text. The entire tutorial is relatively simple and mainly uses the Mask function. Masking can be said to be the essence of color mixing and drawing. Pay attention to a few things. The details can be completed very well. The specific tutorial still needs to be made through PS. I believe students can complete it better according to the tutorial. Some inspirations for poster design come from creativity. In detail, you still need to read more and practice more to make it beautiful. poster.
Rendering:
Operation steps:
First, create a canvas the size of the picture:

www.16xx8.com
Import a picture of flowers downloaded from the Internet and fill the canvas:

Select the Rectangle Tool. Cancel the fill, white stroke, 20 pixels (the specific parameters are determined according to your own situation, I also follow my feeling)
Draw a white rectangular border of a certain size in the picture:

Click on the text tool. Adjust text size, spacing, line spacing and other parameters to achieve aesthetics.
Enter “LAST DANCE” (you can enter any text you want),
Right-click the border layer and select “Rasterize Layer”. Right-click the text layer and select “Rasterize Text”.
Thus, both the text layer and the border layer are rasterized into image format:


Use the tools in the red box to select the layer and adjust the relative positions of the three main layers to achieve centering:

Click the icon as shown in the picture to add masks to the “Text Layer” and “Border Layer”
Select the brush tool, set the foreground color to black and the background color to white
(Improvement: Wiping the black brush in the white mask will have an erasing effect. If during the wiping process, you erase the areas that should not be erased, you can change the brush color to white, and wipe the areas that should not be erased. Its restoration. That’s the beauty of masks!)
Click on the mask of each layer to erase the corresponding image:

Wipe the image by adjusting the brush style, transparency, and fill
(Note: When using masks, you must click to select the mask layer, not the corresponding image layer)
Use a paintbrush to wipe and pay attention to details
Letters covered by leaves should be erased, as shown in the figure:

Borders also need to be processed
Deal with the details, the erasure that needs to be erased
When erasing is excessive, the white brush can be adjusted to wipe:


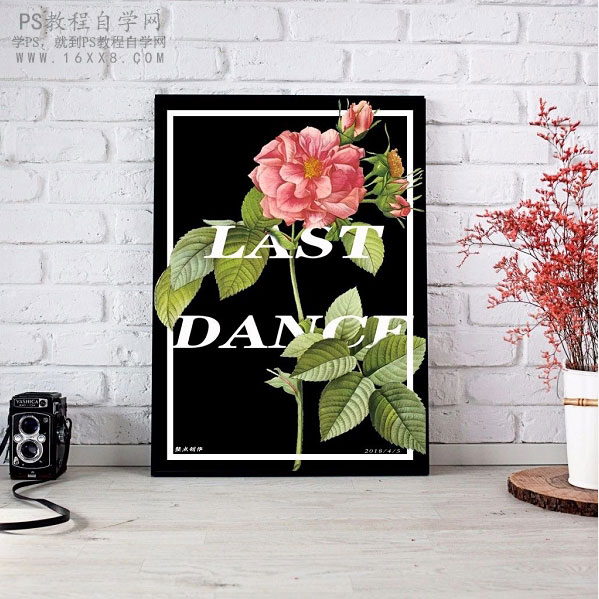
Finally, look at the results of coding and typesetting:
I believe that all students already understand the production method. Come and make it according to the tutorial. Only hands-on practice can make it perfect.
 微信扫一扫打赏
 支付宝扫一扫打赏

